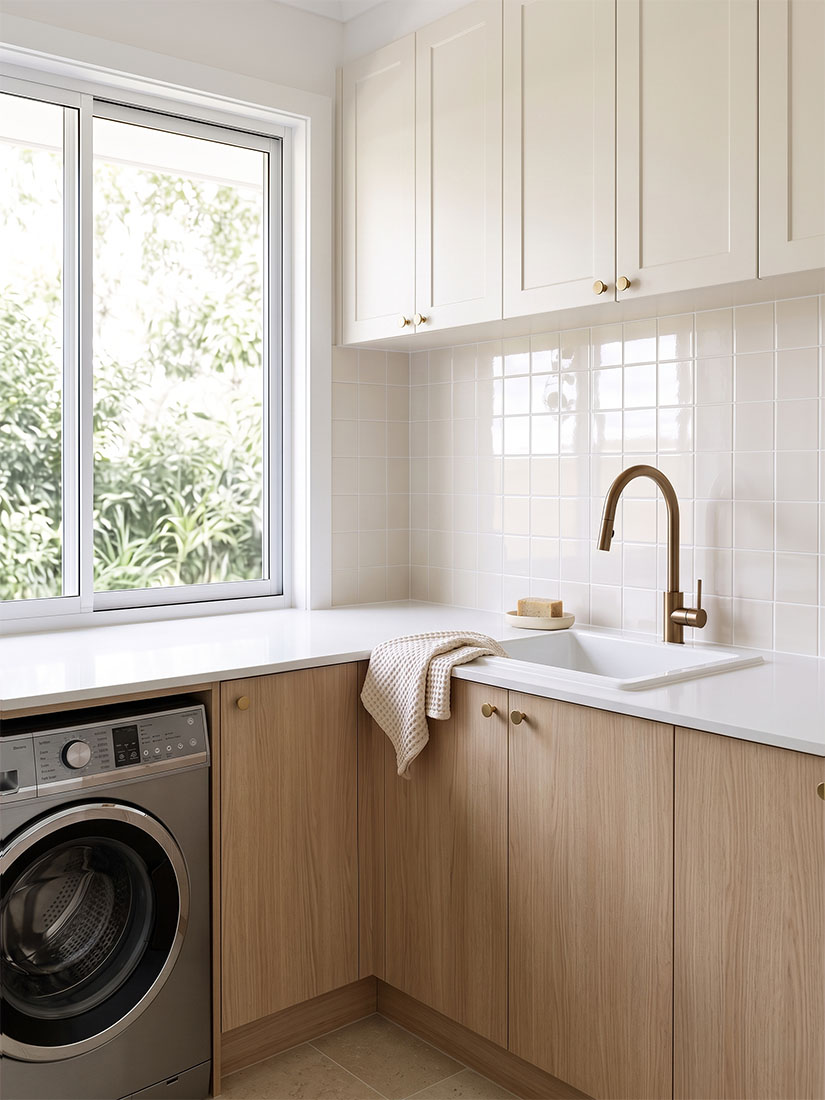
In this tutorial series, Aaron and Daniella guide you through each stage of the tiling process, from choosing your tiles and preparing for installation to the finishing touches and final reveal. Follow along with each tutorial for practical tips, design inspiration and helpful advice to guide you through your own tiling project.
Location, location, location
When choosing tiles it’s more than just colours and patterns that you need to think about. Location, use and the other surfaces around the area all play an important part on working out the best solution.
Quick answer
The right tiles can shape the look and feel of a space, but choosing them involves more than finding a colour or finish you love. Start by considering where they’ll be installed and how they’ll be used, from handling moisture in a bathroom to withstanding the elements outdoors. Check that the tile is suitable for the application, including its slip resistance, water absorption and whether it’s designed for floors or walls. Once you’ve found options that meet your practical needs, you can explore colours, patterns, sizes and finishes to find a combination that reflects your style and brings your vision for the space to life. Ordering samples is a helpful next step, allowing you to see how your favourites look alongside your other materials and in your own lighting before making your final choice.
How to Choose Tiles: A Guide to Choosing the Right Tiles for Your Space
Walking into one of our tile showrooms, you’ll find plenty of options to explore, from colours and sizes to finishes and patterns. With so many possibilities, choosing your tiles is an exciting part of planning a project, but it’s also important to find options that suit your space and how you plan to use it.
In this tutorial, Aaron and Daniella walk you through the tile selection and design process, helping you choose the right tiles for your project.
Quick tile selection checklist
- Consider how the space will be used and what conditions the tiles will need to withstand
- Choose a tile suited to your project’s intended application
- Check floor and wall ratings, slip rating and water absorption
- Explore finishes that balance style, safety and easy care
- Find a tile size that complements your space and design
- Bring your look together with colours and patterns that complement your existing materials
- Consider how tile layout and grout colour will shape the finished look
- Take samples home to see how they look in different lighting
Step 1: Start by understanding your space
Before choosing colours, patterns or finishes, consider how the space will be used and what your tiles need to withstand. These questions will help you narrow down your options and find tiles that suit your project.
- Where is the tile going? Floor, wall, splashback, shower or outdoor area?
- How much traffic will it get? A busy entryway may need more durability than a guest bathroom.
- Will the tile be exposed to water? Showers, laundries, patios and pool surrounds need tiles with an appropriate level of slip resistance.
- Who uses the space? Kids, pets and older family members may all influence your choice.
- What are the existing colours and finishes? You may already have an existing design scheme that your tiles will need to complement.
- What are the surrounding areas? Considering the other spaces helps to create connection.
Understanding the existing space will help narrow down your tile choices and make it easier to find an option that works both practically and visually.
Step 2: Choose a tile suitable for the application
Different tiles are designed for different applications, so it’s important to choose one that suits your space and how it will be used. Factors such as the tile’s material, finish and slip resistance can influence where it’s best used, so it’s always best to confirm the technical specifications before making your choice.
For example, in wet areas such as bathrooms, the floor tile should provide an appropriate level of slip resistance to help prevent slips. A highly polished or glossy tile may not be the right choice for a bathroom floor where water can be present.
If you’re unsure which tile is suitable for your space, speak with the Johnson Tiles team at one of our showrooms or call 1800 564 676.
Understand the main types of tiles
Porcelain
Porcelain tiles are dense and have low water absorption, making them a versatile option for a range of applications. They suit floors, walls, wet areas and many outdoor spaces when rated for the application, and come in a wide range of designs, from stone and timber to concrete and terrazzo.
Ceramic
Typically lighter and easier to cut, ceramic is a popular choice for walls and splashbacks, and for lower-traffic floors. It’s available in a wide range of colours, glazes and finishes. Always check the individual tile’s specifications to confirm its recommended applications.
Mosaics
Mosaics are small-format tiles made from materials such as porcelain, ceramic, glass or natural stone. Their smaller format makes them a popular choice for feature walls, splashbacks and decorative details. Some mosaics are also suitable for floors and wet areas, depending on the material, surface finish, product specifications and installation requirements.
Consider slip resistance
Slip resistance is an important consideration when choosing floor tiles, particularly in areas exposed to water, such as bathrooms, outdoor entertaining areas and pool surrounds. The appropriate tile will depend on the intended application and the conditions the surface will be exposed to. Check the tile’s slip resistance classification to ensure it’s suitable for your project. You’ll find this information on each product page under Product Specifications, as well as in our brochures and technical data sheets. For more guidance, read our guide to tile slip resistance.
Other technical specifications
It’s also worth checking a few key specifications to make sure your chosen tiles are suitable for their intended application:
- Floor or wall rating: Not all tiles are suitable for floors. Our Johnson Tiles product codes starting with a ‘6’ are suitable for wall only, while product codes starting with ‘7’ are suitable for both wall and floor.
- Wear rating: Indicates how well a tile resists foot traffic and abrasion, which is worth considering when choosing tiles for areas with regular foot traffic.
- Water absorption: Tiles with lower water absorption are generally better suited to wet and outdoor areas, particularly where exposure to moisture is a consideration. Always check the tile’s suitability for the intended application.
- Frost resistance: If you’re choosing outdoor tiles, check whether they’re suitable for areas exposed to frost and freezing temperatures.
- Rectified or non-rectified edges: Rectified tiles have precisely cut edges, allowing them to be laid with narrower, more consistent grout lines.
You’ll find these details in the Product Specifications section on each product page and in our technical data sheets.
Step 3: Consider colour and natural light
Colour plays an important role in how a space looks and feels. Lighter-coloured tiles can help reflect light, making a room feel brighter and more open, while darker tones can add depth and create a more dramatic look.
If your space connects indoors and outdoors, choosing complementary tile colours can help create a natural flow between the two areas, making them feel more connected.
For their outdoor renovation, Aaron and Daniella chose Desert White. Its light tones help create a bright, airy feel, complementing the blue pool coping tiles and surrounding greenery to enhance the summery atmosphere of the pool and alfresco area. By reflecting more light, it helps keep the outdoor space feeling bright and open, while allowing more natural light to reach the home.
Step 4: Consider the surrounding finishes
Tiles are just one part of the overall design, so it’s worth considering how they’ll work with the other colours, materials and finishes in your space – and this might include:
- Flooring
- Walls
- Cabinetry
- Benchtops
- Fixtures and fittings
- Landscaping
- Other materials in the space
In their outdoor renovation, Aaron and Daniella chose tiles that complement the surrounding greenery and the existing pool tiles, helping tie the different elements together. You don’t necessarily need to match every colour or finish exactly. Instead, look for tones and textures that work well together to create a balanced, cohesive result.
Step 5: Size and Design
Think about the tile design and variation
Tiles come in a wide range of designs, from handcrafted looks and classic white tiles to the natural veining and grain of stone. With so many colours, patterns and textures to choose from, you can find options to suit your style and the needs of your space.
Rather than choosing a tile with a completely uniform colour, consider tiles with subtle texture, grain or variation in the design of the tile. These characteristics can add visual interest and help disguise everyday marks and variation that may be more noticeable on a highly uniform surface.
Think about the size and layout of the area
Tile size is another important consideration that can change the look and feel of your space. With fewer grout joints, larger tiles can create a more open sense of space, while smaller tiles can introduce more pattern and detail.
Consider the proportions of the room or outdoor area, as well as where cuts and grout lines will fall. The tile size should work with the dimensions and layout of the space rather than being chosen on appearance alone.
Step 6: Order samples before making your final decision
Once you’ve narrowed down your options, ordering a physical tile sample is a great way to see how a tile will look in your own space before committing to your selection.
View the sample where the tiles will be installed and check how it looks under different lighting conditions throughout the day, including both natural and artificial light. Colours can appear quite different depending on the light, and even white or grey tiles can have warm or cool undertones that affect how they work with your other finishes.
Extra tip: For tiles that have variation or pattern in the design, view several tiles of the same product together to get a better sense of how the design changes from one tile to the next. Keep in mind that samples provide a guide to the finished product, and slight variations can occur between production batches.
Final thoughts
Choosing tiles is about finding the right balance between the look you want and the practical needs of your space. By considering how the tiles will be used, the finishes around them and the details that matter for your project, you’ll be better equipped to make a choice you’ll be happy with for years to come.
Ready to explore your options? Visit your local Johnson Tiles showroom to see the tiles up close, compare colours and finishes, and take home samples to view in your own space. Our team is here to help if you need advice along the way.
Now that you’ve selected your tiles, the next step is getting your space ready for installation. Head to our Preparing for Tiling tutorial to learn how to get started.