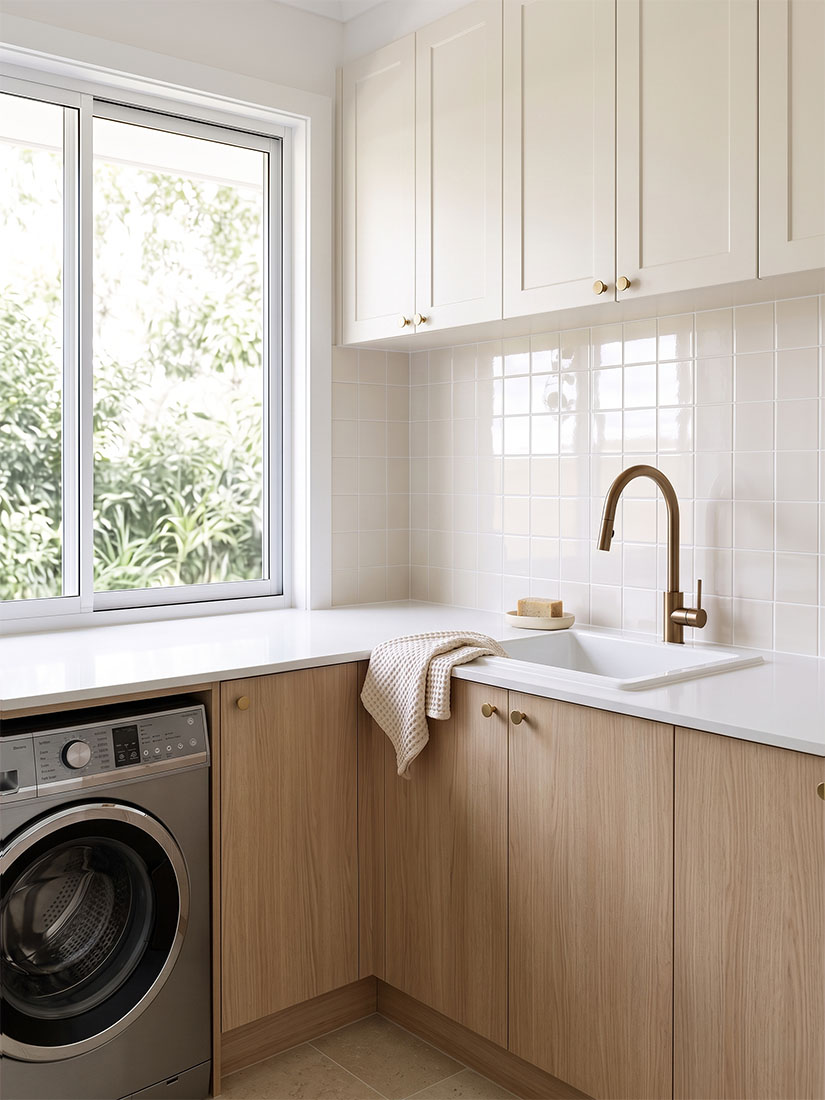
Measure twice, cut once
When it comes to tiles there’s many tips and tricks to make sure that the end product meets all your expectations.
Common tiling mistakes and how to avoid them
A beautifully tiled room can lift your whole home, but a few avoidable slip-ups can turn a dream renovation into a frustrating one. The good news is that most tiling mistakes happen before a single tile is laid, and nearly all of them can be prevented with a bit of planning and the right advice. From choosing the right tiles to ordering enough material and selecting the right grout, being aware of these common mistakes can help you avoid unnecessary costs and complications during installation.
Here Aaron and Daniella take you through their tips to avoid some of the most common tiling mistakes during your project.
Key takeaways
- Choose tiles for performance in the space, including slip resistance and water absorption, not just looks.
- Inspect tiles and check batch numbers before you mix any adhesive.
- Keep grout colour within two or three shades of your tile for a coordinated look, or go contrasting for a bold one.
- Match grout type to your tile, joint width and location, and check the manufacturer’s recommendations.
- Order an extra 10–15% to allow for cuts, breakages and future repairs.
- Do a dry lay and plan your cuts before the adhesive goes down.
1. Don’t rush your tile selection
Choosing a tile isn’t just about finding a design you like, it’s just as important to consider how the tile will perform in the space where it will be installed.
Think about factors such as:
- Where the tile will be used
- Whether it is suitable for floors or walls
- Expected traffic and usage
- Slip resistance and water absorption requirements
- The size and layout of the space
- The look and finish you want to achieve
A tile might look great, but if it isn’t suitable for the application, it won’t deliver the result you’re looking for. A gorgeous wall tile may not be suitable for a floor, and a polished tile that looks stunning in a living area could be too slippery in a shower or on an outdoor patio.
Be sure to take the time to check the tile’s specifications and suitability for your project before making your final selection. On each of our product pages, you will find both the product specifications, technical data sheets and brochures to help with this. Browse our full tile range online, and order samples online or instore to see them up close and in person prior to making your decision. This will ensure you can check the colour and format for your project, as a tile can look completely different in your home than it does in a showroom or on a screen.
2. Consider the finishing touches
You want to turn your house into a home so having a personal touch in your space is really important. Tiles are an important part of a room, but they’re not the only element that contributes to the finished look.
Consider how your tile choice will work with the rest of the space, including fixtures, fittings, cabinetry, paint colours and other finishes. Personal touches can also help bring the space together and make it feel like your own. Thinking about these details before installation can help you achieve a more cohesive result. Even the small details can make a big difference to the final look, from choosing the right edge trims to colour-matched silicone that complements your grout and tiles.
3. Check your tiles before you mix the adhesive
‘Do not mix before you fix’. Before mixing your adhesive, open and inspect the tiles you’re about to install. Check for any visible damage, chips, cracks or other issues, as it’s much easier to identify and avoid damaged tiles before they have been installed.
Also, it’s important to check that the tiles are the correct product, size, colour and finish for your project. If you’re working with multiple boxes, make sure to check the batch numbers too to ensure that you’re working with the expected batch, shade and calibre.
4. Choose your grout colour carefully
A very common mistake when it comes to grouting is selecting the wrong colour. Aaron and Daniella’s recommendation is to generally stick within two or three shades darker or lighter than the actual tile you’ve selected.
The grout colour you choose is an important part of the design of your project:
- For a more coordinated look, consider choosing a grout colour within two or three shades lighter or darker than the tile. This can help create definition between the tiles without making the grout lines the dominant feature.
- Using a similar coloured grout to the tile can create a seamless look for your tiled area, making it appear consistent and emphasising the sense of space.
- If you’d like the grout lines to stand out, a contrasting colour can create a much stronger visual design. For example, white tiles with black grout will create a high-contrast look that emphasises the tile layout.
5. Choosing the right type of grout
Choosing the right grout depends on the type of tile, the width of the grout joints and where the tiles will be installed. Cement-based, epoxy and pre-mixed grouts each have different properties, so it’s important to choose an option that suits your tiles and the conditions of your project.
Cement-based grout is a common choice for many tiling projects. However, it is porous and can absorb moisture and stains over time, potentially leading to discolouration and mould growth in areas such as bathrooms, showers and kitchens. Applying a suitable grout sealer can help reduce moisture and stain absorption, but it won’t make the grout completely waterproof.
Epoxy grout offers greater resistance to moisture, stains and chemicals, making it a suitable option for showers, other wet areas and some commercial applications. Unlike cement-based grout, it generally doesn’t require sealing. However, it is more expensive and can be more difficult to apply, with any residue needing to be cleaned from tile surfaces promptly during installation.
Pre-mixed grout can be a convenient alternative, but its suitability depends on the product formulation and intended application. Check the manufacturer’s recommendations to ensure it is suitable for your tile type, joint width and installation environment.
Additionally, do not grout until the adhesive has cured in line with the manufacturer requirements, and wait for the grout to cure prior to sealing the grout, if required.
6. Allow for tile wastage
Another common mistake when ordering tiles is not allowing for enough wastage. It’s important to order a little extra to account for cutting, breakages and any future repairs, so you have enough tiles to complete the project without needing to order more later. Tiles can vary slightly between production batches, so ordering additional tiles later may result in differences in shade, calibre or appearance.
As a general guide, allow an additional 10–15% when ordering tiles. More complex layouts may require additional allowance, particularly where there are lots of cuts, angles or patterns.
It’s always better to have a small amount left over than to run short during installation. Our handy tile calculator can help determine the number of tiles you’ll need for your project.
7. Plan your layout before you start
Before installing tiles, always consider how they will be laid out – plan where your tiles will start and finish, and where your cuts will fall. For example, a common mistake is tiling from a corner of the space and working outwards from there, which can result in thin cuts of tiles on the opposite side of the space.
Some tips for planning your layout:
- Do a dry lay first, placing tiles on the floor or wall without adhesive to see how they’ll fall.
- Find the centre of the room or the main focal point, such as the doorway or main sightline, and work outwards from there.
- Adjust your starting point so you avoid thin slivers of tile at the edges.
- Decide where feature tiles, borders and niches will sit before you start.
Final thoughts
Many common tiling mistakes can be avoided with a little preparation – take the time to choose the right tile, check your tiles before installation, plan your layout, allow for wastage and select your grout carefully. Getting these details right before you start can help make the installation process smoother, saving both money and time, and ultimately ending up with a better finished result.
These were Aaron and Daniella’s helpful tips to prevent common mistakes from happening when tiling.
Let’s move onto their next tutorial, preparing for tiling.
About Johnson Tiles
Johnson Tiles Australia — a leading manufacturer and supplier of premium-quality ceramic and porcelain tiles.
With over 60 years of industry experience, Johnson Tiles is committed to delivering high-performance tile solutions that combine style, durability, and functionality — perfectly suited to both residential and commercial projects.
Why Johnson Tiles?
- Premium Quality Products: Manufactured using advanced technology for durability, low maintenance, and broad design flexibility across a range of finishes, sizes, and styles.
- Sustainability Focus: Our processes incorporate extensive recycling and waste minimisation, supporting environmentally conscious construction.
- Expert Support: Our team offers expert consultation on selection, technical specs, and installation guidance to ensure seamless project delivery.
- Competitive Pricing: We provide cost-effective solutions without compromising on quality, making us a trusted partner for major developments.