

2 July 2026
- Tile layout patterns change how a space feels, not just how it looks. The same tile can create a completely different effect depending on how it’s laid — a vertical stack adds height to a room, a horizontal offset widens it, and a diagonal layout makes small spaces feel more open.
- The right pattern depends on tile shape, room size, and desired mood. Rectangular tiles suit herringbone and brick bond; square tiles suit diagonal layouts. Small rooms benefit from diagonal or horizontal offsets, while larger spaces can carry bolder patterns like herringbone or chevron.
- More intricate patterns require more planning, tiles, and labour. Complex layouts like herringbone, chevron and basketweave typically need 10–15% extra tiles for cuts and waste (versus 5–10% for a straight grid), plus a dry-lay test and early conversations with your tiler.
When choosing tiles for your home or commercial project, colour, size and finish are often the first aspects that come to mind. But there’s another design element that can have just as much impact — the tile layout.
The way tiles are arranged can completely change the look and feel of a room. A simple change in laying pattern can make a small room appear larger, create a striking focal point, add movement or a particular feeling to a space. Think of it as another tool in your design toolkit — one that can add the final touch to your space. Whether you’re renovating a bathroom, designing a new kitchen or specifying a commercial fit-out, understanding tile patterns can help you achieve a truly personalised and unique design.
In this guide, we walk through the most popular tile layout patterns — what they look like, where they work best, and how to choose the right one for your home.
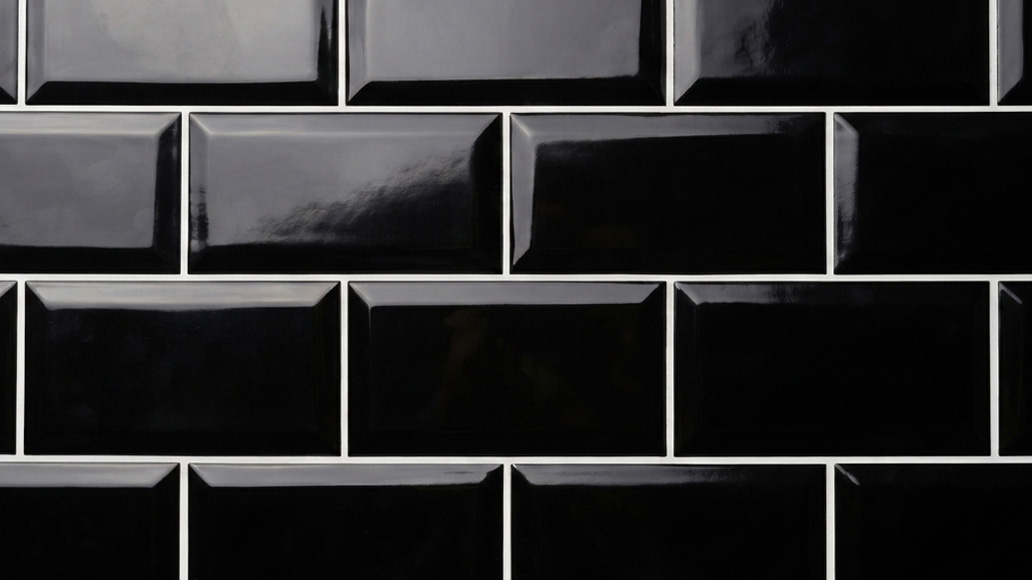
Table of Contents
- Why Are Tile Laying Patterns Important?
- Horizontal and Vertical Stack Tile Patterns
- Brick Bond Tile Pattern (Running Bond)
- 1/3 Offset Tile Pattern
- Herringbone Tile Pattern
- Chevron Tile Pattern
- Basketweave Tile Pattern
- Diagonal Tile Pattern (Diamond)
- Mosaic Tile Patterns
- Hexagon Tile Pattern
- How to Choose the Right Tile Pattern for Your Space
- Practical Tips for Planning Your Tile Layout
Why Are Tile Laying Patterns Important?
Think of a classic subway tile like our Spectrum White Gloss 97x197mm — instead of simply laying them in a horizontal stack, they can be offset to create the traditional brick bond subway tile pattern for a timeless look. Or, by stacking them vertically, you can draw the eye upwards, helping to create a greater sense of height and space in a small room. This is really at the heart of why tile laying patterns are important — they can completely change how a space feels, not just how it looks.
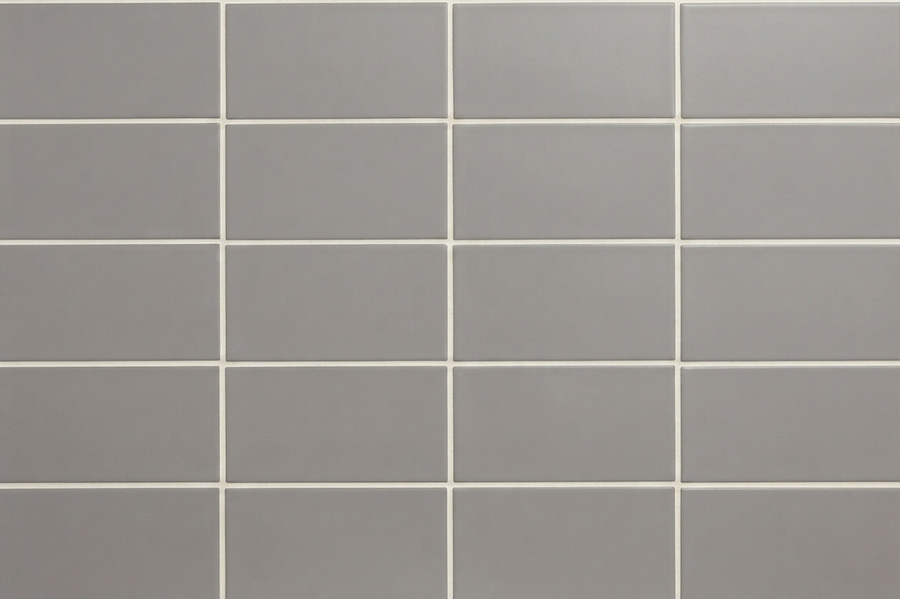
Horizontal and Vertical Stack Tile Patterns
Despite being the simplest option, the stacked tile arrangement is far from boring. Tiles are aligned in neat rows (horizontal stack) or columns (vertical stack), creating clean lines and a modern appearance. It suits almost every tile format — from small mosaics to large-format porcelain tiles — and works across every room in the home. When paired with colour-matched grout and large-format tiles, it creates a contemporary, seamless look that feels modern and considered. With a contrasting grout and smaller tiles, it takes on a more graphic, grid-like quality.
Best for: Large-format tiles, floor and wall applications, contemporary interiors, budget-conscious projects
Effect on space: Clean and structured; allows the tile itself to take centre stage
Things to consider: Requires precise alignment — any variation in the substrate or grout lines will be more noticeable than in a more complex pattern

Brick Bond Tile Pattern (Running Bond)
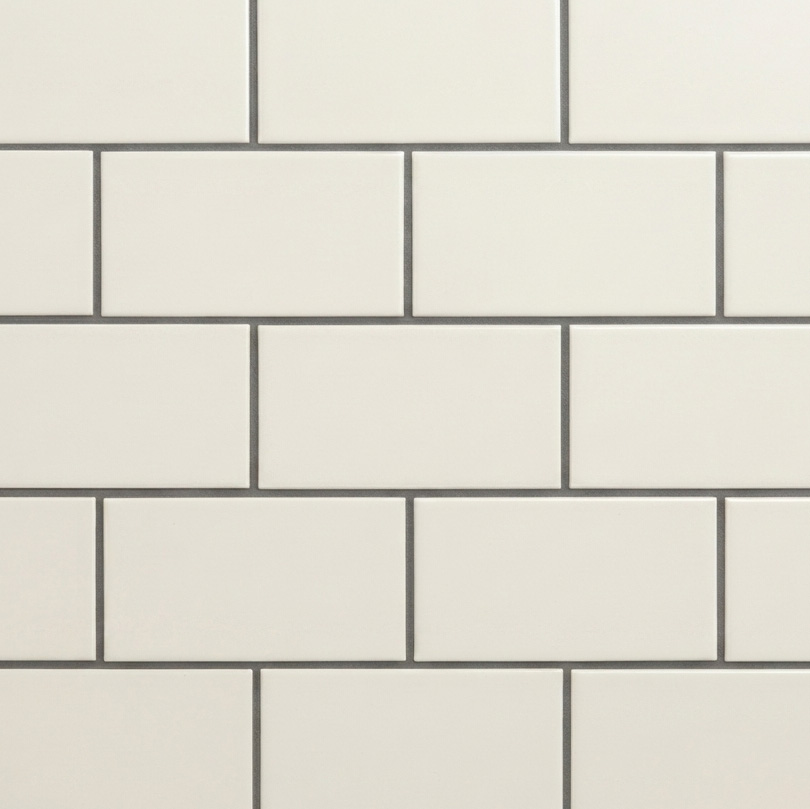
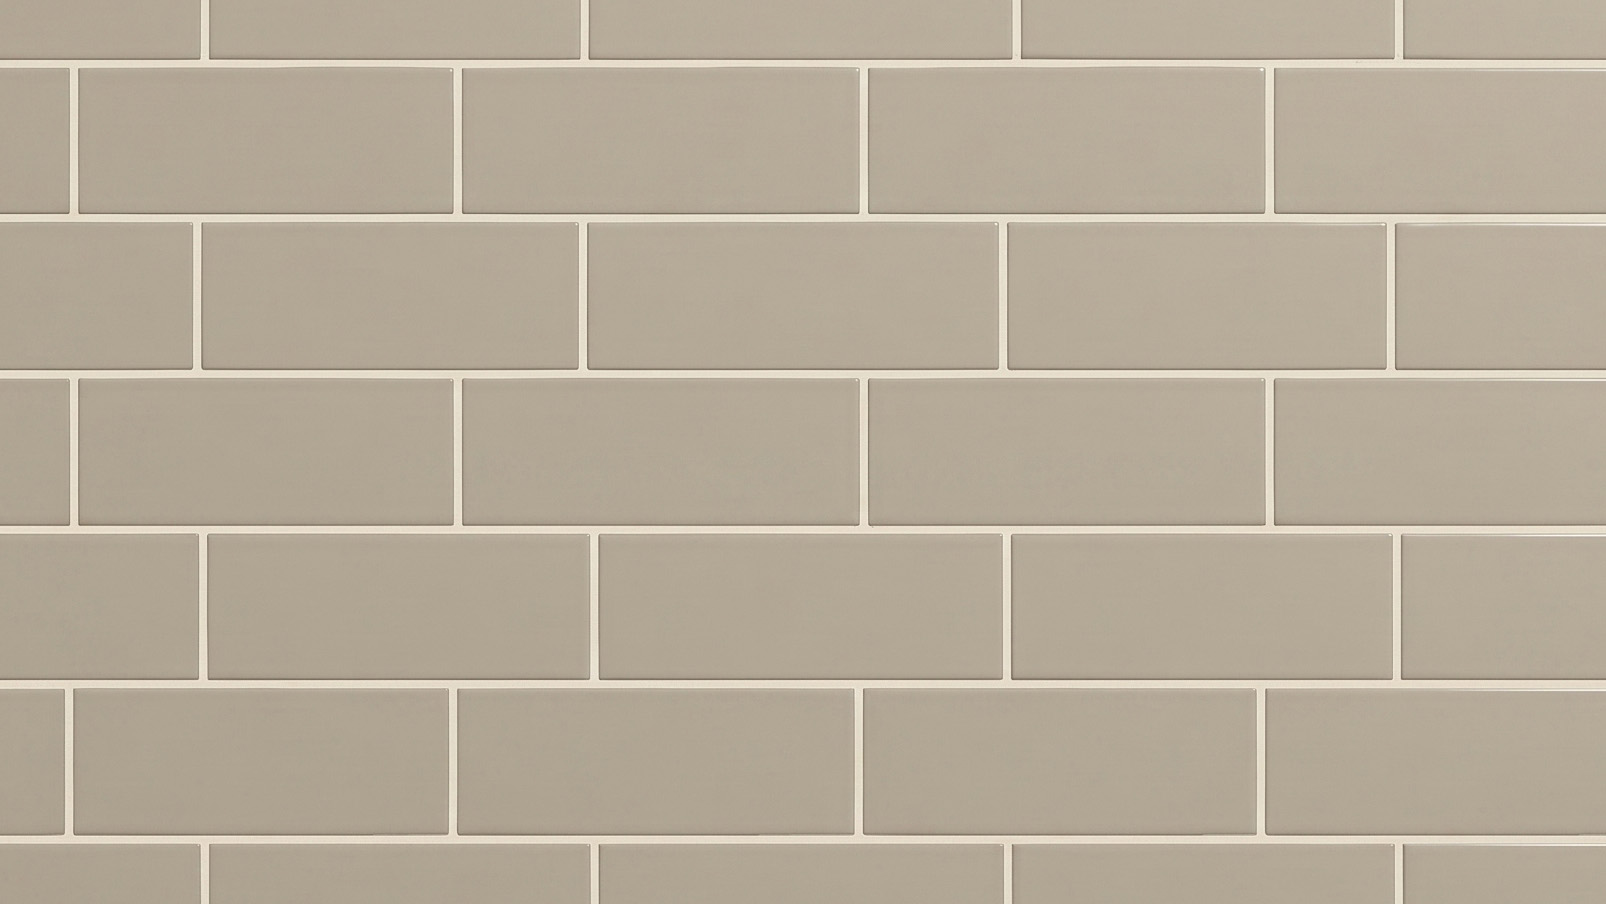
The brick or offset pattern is one of the most widely used tile layouts — as it creates the classic brickwork structure. Each row of tiles is offset by half a tile length, creating a staggered pattern with a natural, flowing rhythm. It pairs particularly well with rectangular tiles and subway tiles, making it a favourite for splashbacks and feature walls.
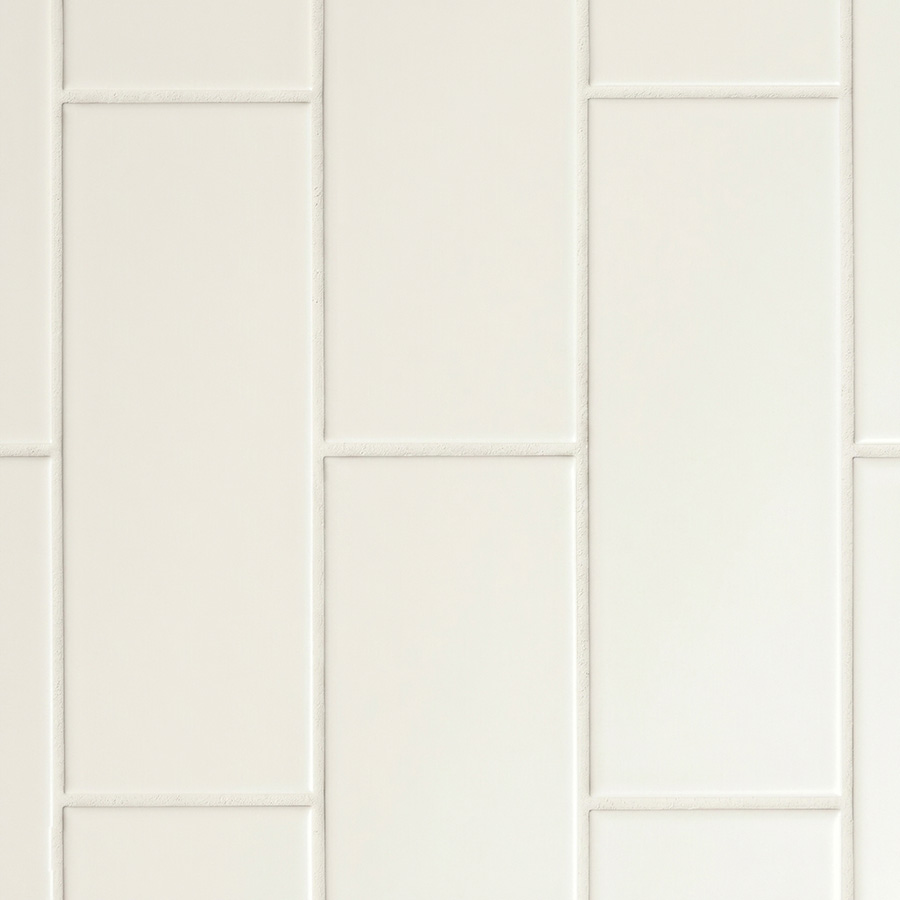
The brick tile laying pattern can be used vertically, horizontally or even at a 45 degree angle for extra effect. When used vertically, it helps to create a sense of height on walls, particularly in bathrooms and showers. Tiles from our wall tile range, including our Artisan and Spectrum Plus collections, lend themselves beautifully to this layout.
Best for: Rectangular tiles, kitchen splashbacks, bathroom walls, shower recesses, feature walls
Effect on space: Adds rhythm and movement; horizontal offset widens a space, vertical offset adds height
Things to consider: Ensure your tiler is aware of the specific offset you want — a 25%, 33% or 50% offset each gives a slightly different visual result
1/3 Offset Tile Pattern
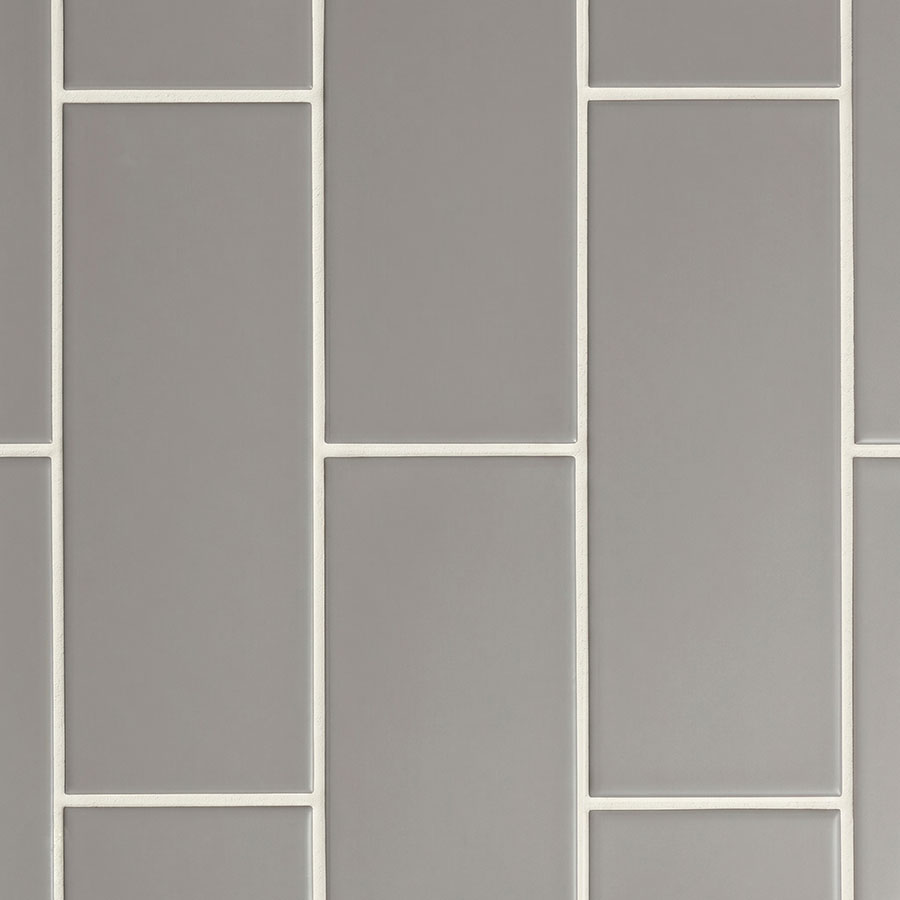
A one-third offset (where each tile begins one third of the way along the tile below) is a look that feels both timeless and contemporary — at home in everything from heritage kitchens to modern bathrooms.
Herringbone Tile Pattern
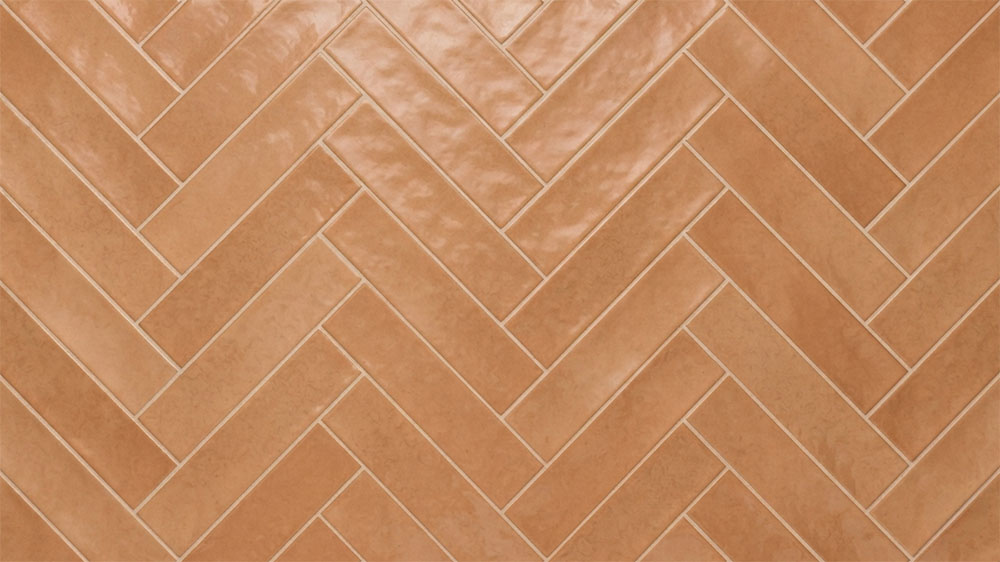
Herringbone is one of the most recognised and popular tile patterns — a V-shaped arrangement in which rectangular tiles are laid at 90-degree angles to each other, creating a zigzag effect that adds movement and draws the eye along the surface.
Using a herringbone tile pattern can transform a wall or floor into a feature with a strong sense of craftsmanship. Even a simple white subway tile, when laid in a herringbone pattern, can elevate an ordinary splashback into a striking design feature.
Best for: Rectangular tiles (subway, brick format), kitchen splashbacks, bathroom walls, hallway floors, feature areas
Effect on space: Adds strong visual movement and direction; creates a sense of energy and sophistication
Things to consider: More complex to install than straight or brick patterns — budget for additional labour and increased tile waste (typically 10–15% extra)
Chevron Tile Pattern
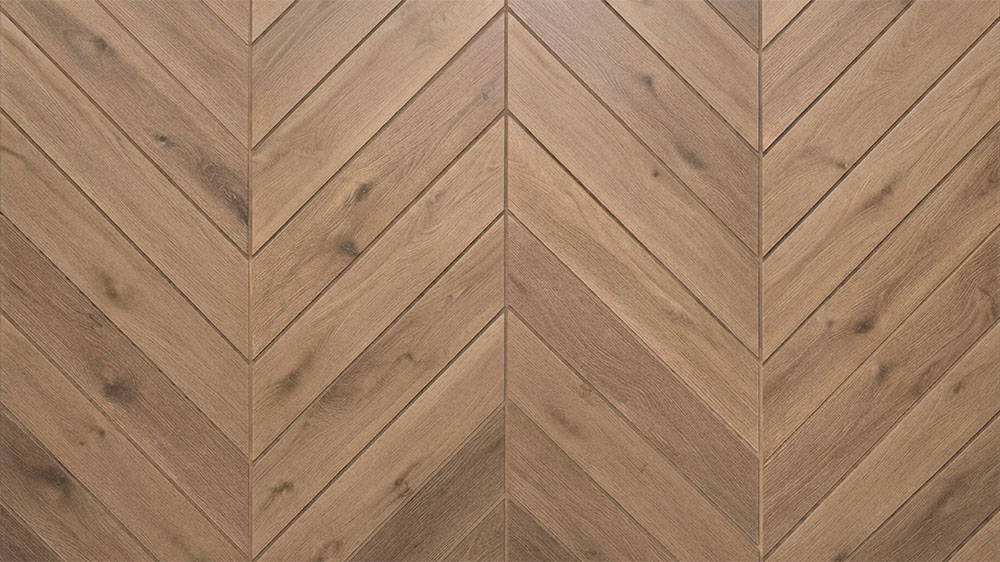
While herringbone and chevron tile patterns look similar at a glance, they are distinctly different. Where herringbone uses standard rectangular tiles laid at right angles, chevron uses tiles that are cut at an angle to create continuous V-shaped lines.
Typically requiring purpose-cut tiles, the chevron tile pattern is generally more expensive to lay than herringbone. However, the visual impact it delivers makes it a worthwhile investment for feature floors, statement entries and luxury bathroom spaces where a refined, tailored finish is the goal.
Best for: Feature floors, entryways, bathroom floors, luxury residential and boutique commercial spaces
Effect on space: Bold and graphic; creates strong directional movement with a precise, high-end feel
Things to consider: Requires purpose-cut angled tiles; higher material cost and more complex installation than herringbone
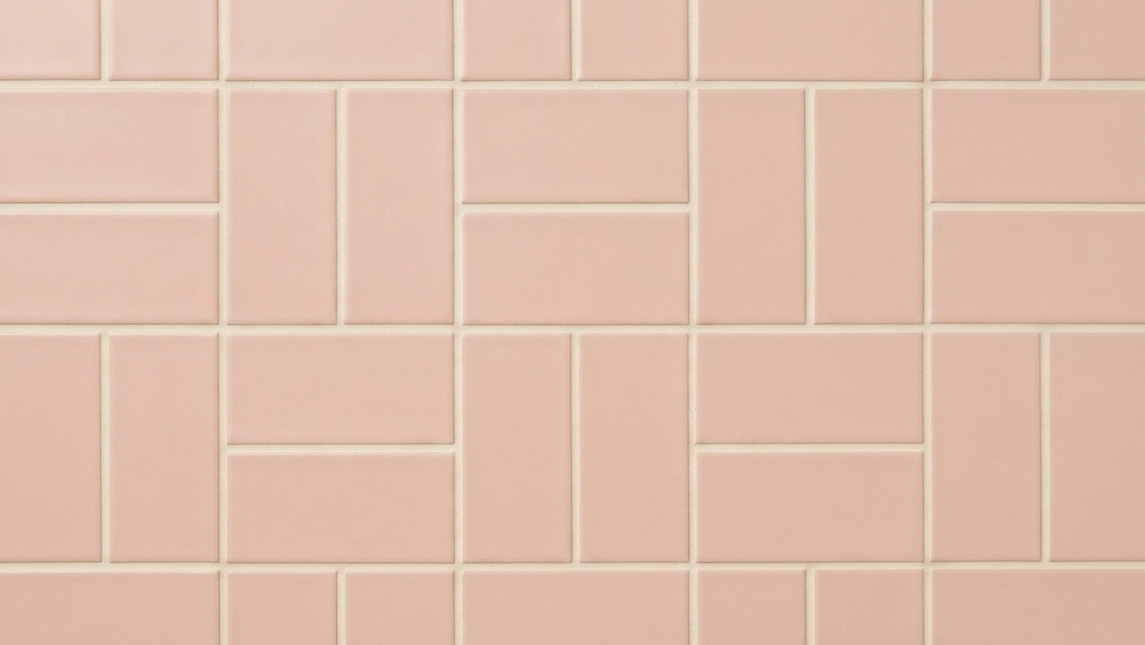
Basketweave Tile Pattern
A basketweave tile pattern arranges rectangular tiles in alternating horizontal and vertical directions to create the illusion of woven strips. The interlocking layout adds texture and movement, resembling the over-and-under construction of a woven basket.
Best for: Bathroom floors, powder rooms, heritage and traditional interiors, feature panels
Effect on space: Adds texture and visual interest; evokes a handcrafted, classic quality
Things to consider: Works best with smaller tile formats; more detailed to install and requires careful planning around room edges and corners
Diagonal Tile Pattern (Diamond)
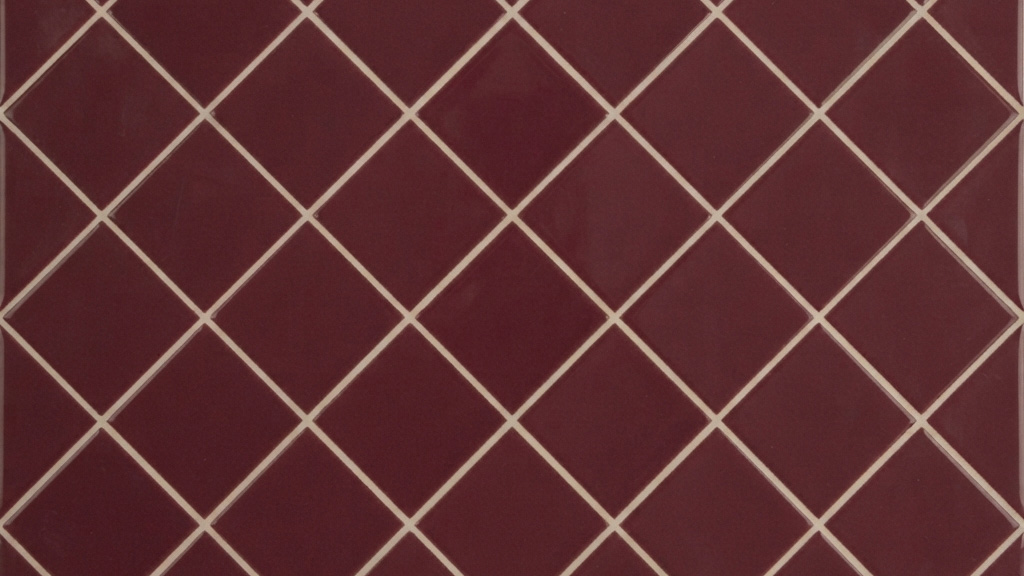
The diagonal layout — sometimes called a diamond pattern — takes a standard square tile and rotates it 45 degrees. This simple rotation has a surprisingly dramatic effect, transforming a familiar tile format into something that feels more dynamic and visually expansive.
One of the key benefits of diagonal laying is that it draws the eye across the surface rather than along it, which can make a space feel wider and more open. It’s a particularly effective choice for small bathrooms, hallways and laundries where you want to maximise the sense of space without changing the tile itself. Although installation requires more cutting around the perimeter, the finished effect often makes the extra planning worthwhile.
Best for: Square tiles, bathroom and laundry floors, hallways, smaller spaces that need to feel wider
Effect on space: Creates a sense of width and movement; adds energy to what might otherwise be a plain surface
Things to consider: Generates more cut tiles along the perimeter walls — allow for 15% additional material, and ensure cuts are kept even and symmetrical on opposite walls
Mosaic Tile Patterns
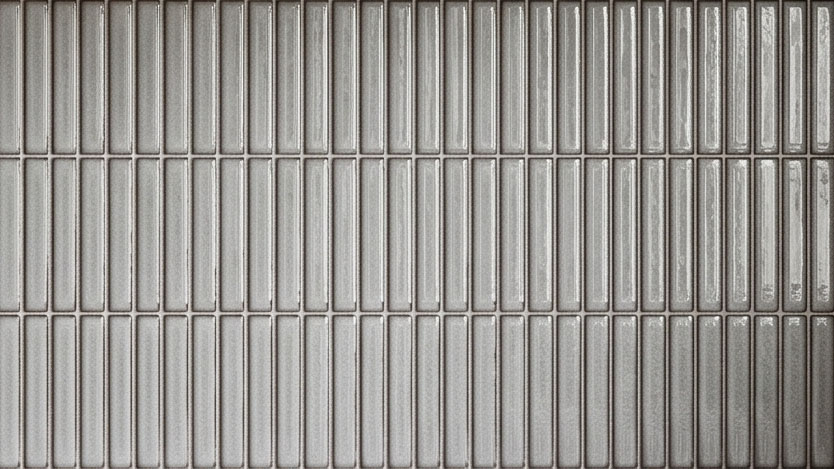
Mosaic tile patterns are another way to explore tile layout patterns in greater detail. They offer a versatile design option, adding texture, detail, and visual interest to both walls and floors. Within our range, we have a wide array of mosaic tiles to suit a variety of interior styles, from subtle and refined to bold and decorative.
Hexagon Tile Pattern
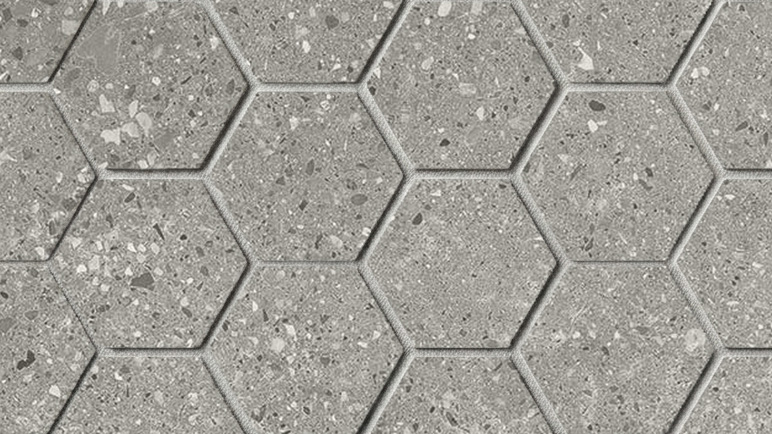
The hexagon tile pattern is a classic, timeless layout where hexagonal tiles are arranged to create a continuous honeycomb effect across walls or floors. Our range includes both hexagon mosaic tiles, such as the Urban Cement Hexagon Mosaic, as well as larger-format hexagon wall and floor tiles, offering versatile options to suit both subtle feature areas and bold design statements.
How to Choose the Right Tile Pattern for Your Space
With so many options available, a useful starting point is to think about three things: the tile shape you’re working with, the size of the space, and the overall mood you want to create.
Consider the tile shape first. Some patterns are shaped by the tile format. For example, herringbone and brick bond are natural partners for rectangular tiles, while diagonal suits square formats.
Think about what the space needs. If you’re working in a small or narrow room, a diagonal or horizontal brick offset can help it feel wider and more open. If you want to add height to a low-ceiling bathroom, a vertical stack or herringbone pattern on the walls draws the eye upward. If the space is large and generous, a herringbone or chevron pattern can fill it with character.
Let the mood guide you. Clean and contemporary spaces often suit standard stack layouts — the tile does the work, and the pattern stays in the background. Spaces with more personality and warmth tend to suit herringbone, basketweave or brick bond, which bring a more handcrafted, layered quality.
Practical Tips for Planning Your Tile Layout
Careful planning plays a key role in achieving the desired result and helps ensure the installation process runs smoothly.
Samples
It is important to test samples in the actual room before making a final decision to ensure the chosen tile pattern works within the space. Samples are available across our entire range, and our team is also available to assist throughout the tile selection stage and beyond — visit one of our showrooms in Victoria, New South Wales, Queensland or Tasmania, or call 1800 564 676 (1800 JOHNSON) to speak with our expert staff.
Dry-lay first
Before any tiles go down permanently, ask your tiler to dry-lay a section of the pattern first. This lets you check proportions, confirm the layout looks right in the actual space, and make adjustments before any adhesive is applied. It’s an especially important step for more complex patterns like herringbone.
Order extra tiles to allow for cuts and waste
Every pattern generates some waste from cuts, but the amount varies considerably. A straight grid typically requires around 5–10% extra, while diagonal and herringbone patterns can require 10–15% or more. Always order your tiles with a buffer — and keep any leftover tiles after the job is complete, as they can be useful for future repairs. Our Tile Calculator can help give you an indication of the number of tiles and cartons you’ll need for your project.
Think about where the pattern starts
The starting point of a tile layout affects how the pattern looks when the room is finished. In most cases, tilers work from the centre of the room outward, so that any cuts at the perimeter are even and balanced on opposite sides.
Consider grout colour carefully
Grout is part of the pattern and is integral to the visual effect — a contrasting grout will make the tile pattern more pronounced, while a tone-matched grout softens it.
Talk to your tiler early
Some patterns — particularly chevron, basketweave and herringbone — require more time and planning to lay. Be sure to talk through your layout choice with your tiler before finalising the tile selection to ensure the pattern you have in mind will work for the space, and gives your tiler the opportunity to flag any concerns around drainage, falls or substrate preparation.
The right tile layout can elevate even the simplest tile into a standout design feature. Whether you’re after timeless elegance, contemporary minimalism or something bold and eye-catching, the laying pattern plays a vital role in the finished result.
At Johnson Tiles, we offer an extensive range of porcelain, ceramic, decorative, stone-look and timber-look tiles suitable for both residential and commercial projects. Our team can help you select not only the perfect tile, but also the ideal layout to bring your vision to life.
With many tile patterns to choose from, let your creativity run free and achieve the look and feel you’re after. Get in touch with our team or visit your nearest showroom to get started.
